Creating & Sharing Your Google Calendar
To gain the full functionality of Google calendar integration in Omni CMS pages, both the website content manager and the IT Web Team will be involved. Each will have specific responsibilities as outlined here.
Website Manager Responsibilites
These steps need to be taken before the calendar can be added to your desired web page:
- Create a Google calendar
- Adjust calendar settings
- Share the (a) Calendar ID, the (b) name you want publicly visible for your calendar, and (c) your desired calendar style options (one or all four) with the IT Web Team
IT Web Team Responsibility
Once the IT Web Team has the Calendar ID, desired calendar name, and selected calendar style options (one or all four) the content manager wants on the website page, the IT Web Team will add the calendar to the page.
Creating Your Google Calendar
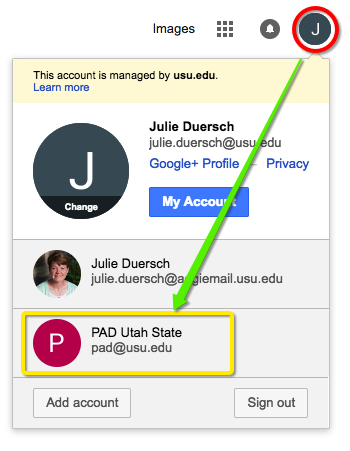
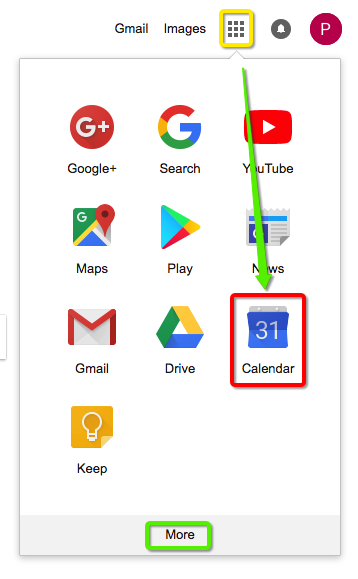
To ensure that your calendar can continue even with staff changes, we strongly recommend that you use a general USU department email (i.e. cee@usu.edu) to create your calendar. Go to google.com and log into your into the Google account associated with that email by clicking on the account icon and either selecting the correct account (if you’ve already added it, or choosing “Add account.” Once you’ve signed in with the proper account, you can navigate to Google Calendar and create your calendar. (Please note that if you don’t see Calendar as one of your choices immediately, click on More to find it.)
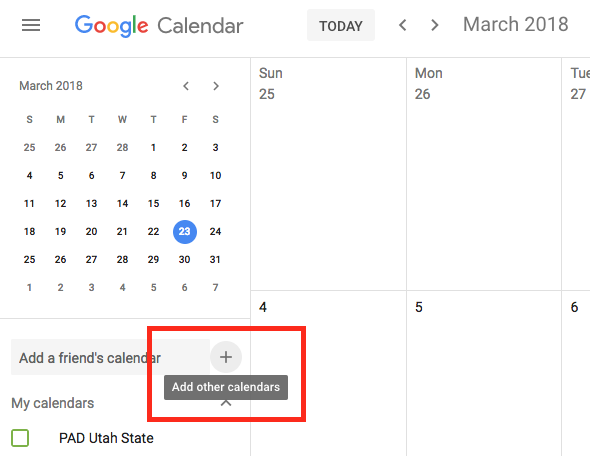
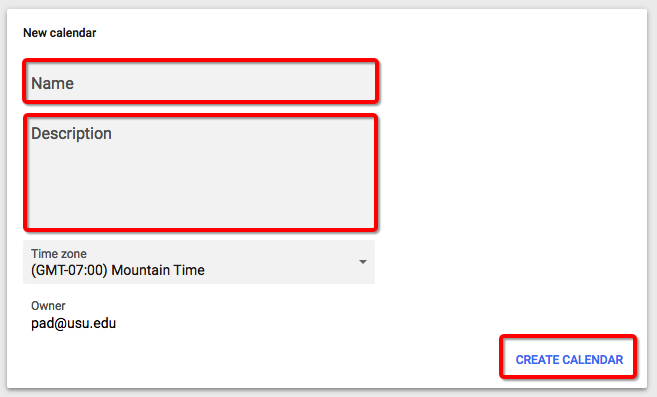
Once inside Google Calendar, choose Add other calendars --> New calendar.
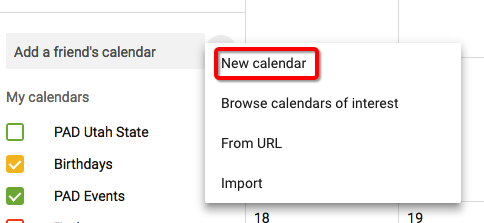
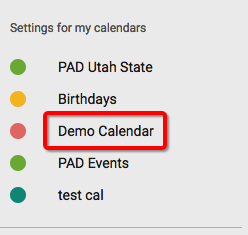
Name your calendar and give it a description to help you remember what the calendar is for. Don’t forget to click CREATE CALENDAR when you’re done. The new calendar will appear in your Settings for my calendars section of the Settings page.
Adjusting Your Calendar Settings
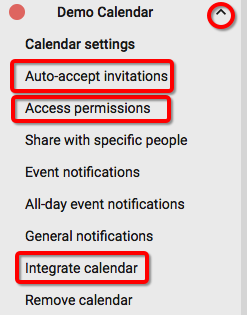
Click on the up arrow next to your newly created calendar to modify the Calendar settings, and find your calendar id. You will check your Auto-accept invitations, Access permissions and Integrate calendar settings. As you click on these links, that section of the settings you clicked on will move to the top of your screen.
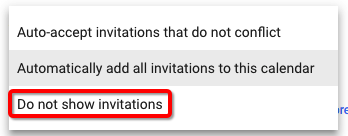
Auto-accept invitations should be set to Do not show invitations. This keeps your calendar from being bombarded with invitations from outside event planners, or scammers.
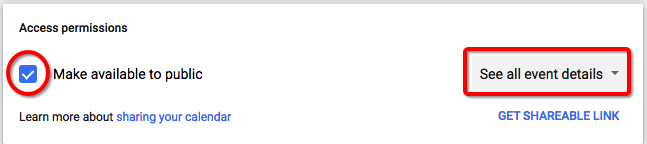
Access permissions should be set to Make available to public and leave the See all event details default in place.
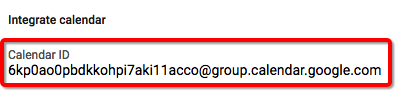
Get the Calendar ID
Integrate calendar is where you will find your Calendar id. Copy and paste into your email to itweb@usu.edu along with the name you want associated with this calendar (i.e. Web Team Demo Calendar).
Navigate back to your main calendar page by clicking the back arrow to the left of the Settings tab at the top of your browser screen.

You can now begin to add events to your calendar with the red + button.
