Assets
Assets are used to put certain content on multiple pages. When you publish an asset it updates on all the pages that it is currently displayed on. You can created forms for users to fill out, text, web content (such as images), custom code or forms for users to fill out. You can insert an asset by clicking the insert asset button in the page editor. You can learn more about assets by having a quick training with us or from Omni CMS.

Creating an Asset
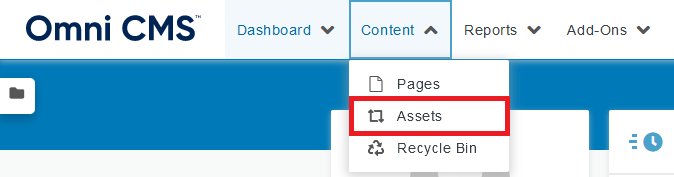
Navigate to the assets page by clicking content then clicking assets.
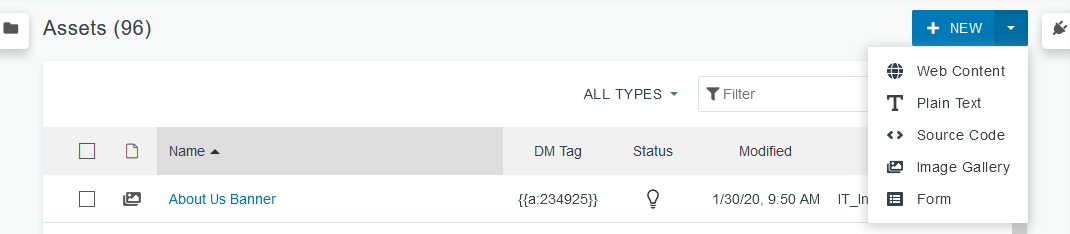
Click the blue edit button and select which asset you want to create. The various types of assets are described on this page.
Galleries
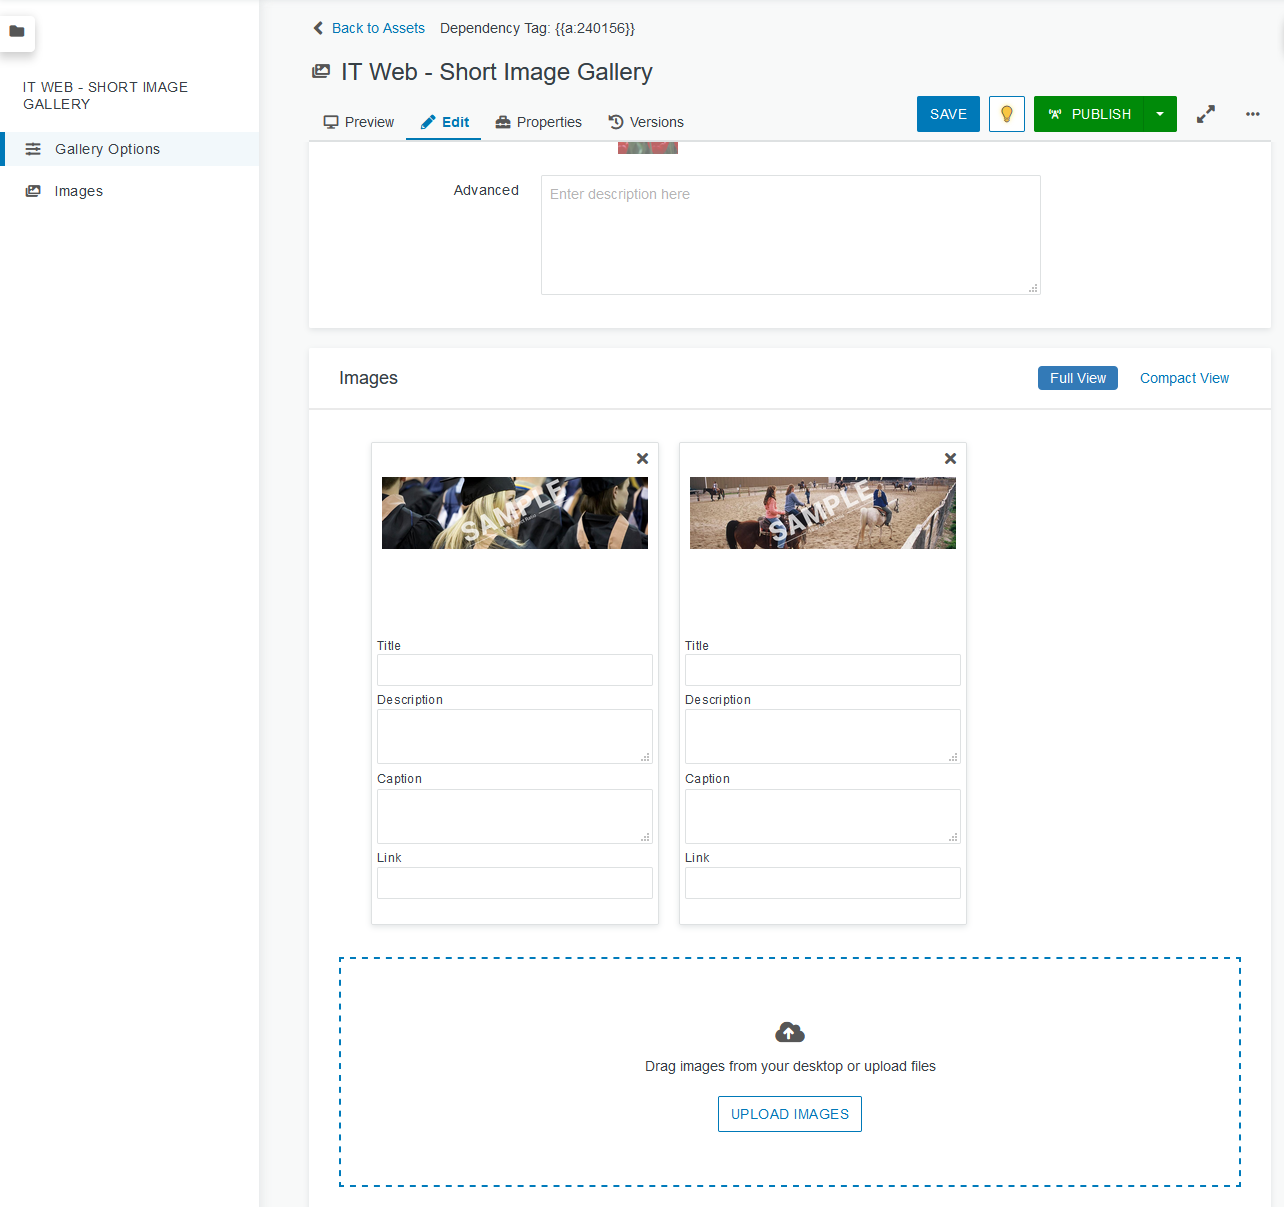
You can create galleries which can show up in a variety of ways on your webpage. Unfortunately you have to upload new photos into galleries, you can't use photos already uploaded to Omni CMS. Follow these steps:
- See steps above to create the gallery asset
- When editing or creating an asset make sure the asset is checked out to you (lightbulb is on)
- You can edit the max thumbnail size or aspect ratio.
- Next you can add your images by clicking add or dragging files to the area.
- Add a caption, link (users can click on the image to go to a link), description, and title to each image if desired.
- Click save.
- Make sure to publish the gallery asset. This will make the changes live on all the pages you have the asset stored.
You can see options for how to display your gallery on the galleries page.
Forms
While Omni CMS supports embedded Qualtrics or Google forms, you can also build a form right inside of your Omni CMS site. This page covers some of the basics of creating a form in Omni CMS. For more information, you can view the official OU Documentation.
Create Form Asset
- Click "Content" (at the top of page) and click on "Assets".
- Click on the blue 'New' button and click 'Form' -- If form option does not exist, contact IT Web.
- In the 'Asset Info' section, give your form a name and description. This information is not public facing. It is used for reference within Omni CMS.
- The name should start with the department or site that the form will be a part of followed by a dash and the name of the asset (ex. "IT Web - Short Image Gallery")
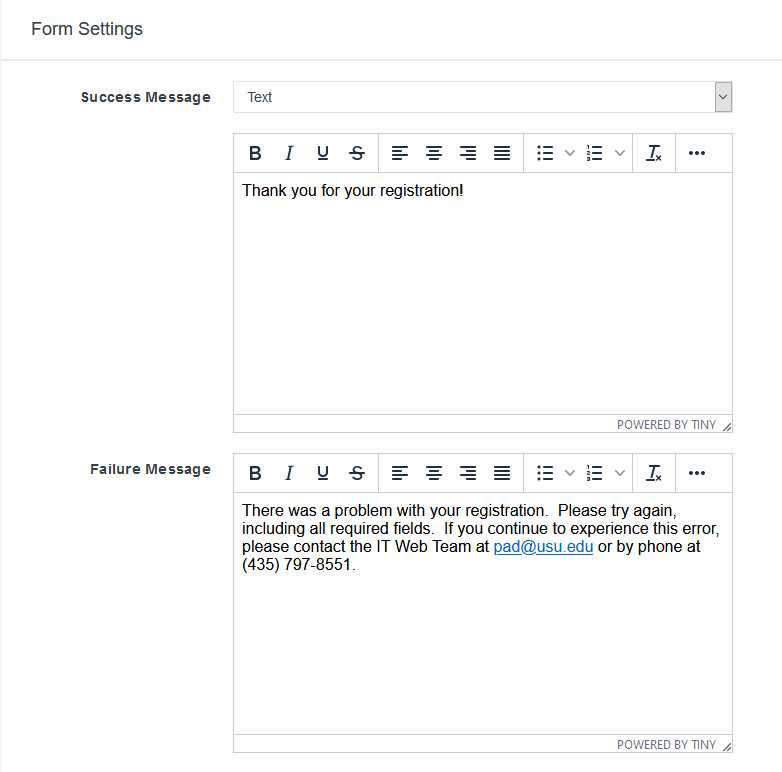
- Fill out success/failure messages. These will be displayed to the user when they submit the form (depending on if the form submitted successfully).
- Fill the 'Submission Button Text', usually "Submit" is appropriate. By default when left empty, the text value is "Submit".
- Click the blue 'Create' button at the bottom right of the page. You will need to click the 'Edit' tab at the top to continue editing.
- Make sure to save often to avoid redoing work.
- You can generally ignore the 'Access Settings'.
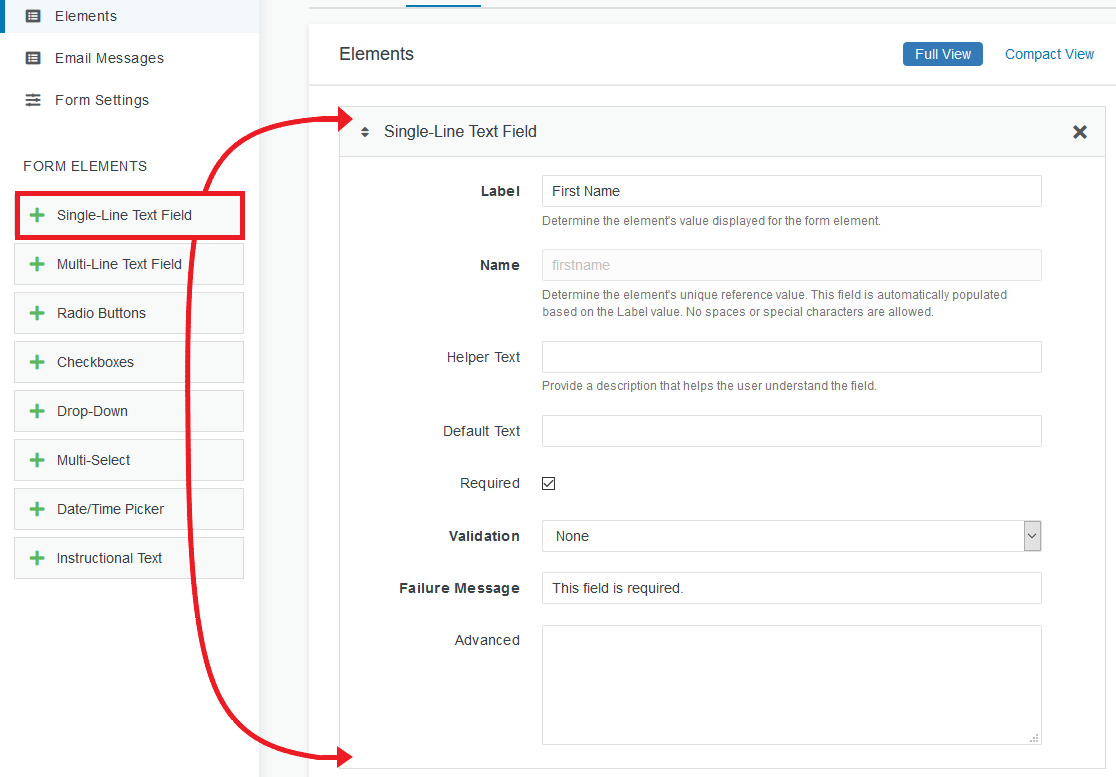
Add Elements to the Form
Drag and drop from the left into the elements section. You can drag to reorder them as well
- Label: This will be the prompt next to the form element.
- Helper Text: This is useful for adding additional instructions.
- Validation: Especially useful for email fields.
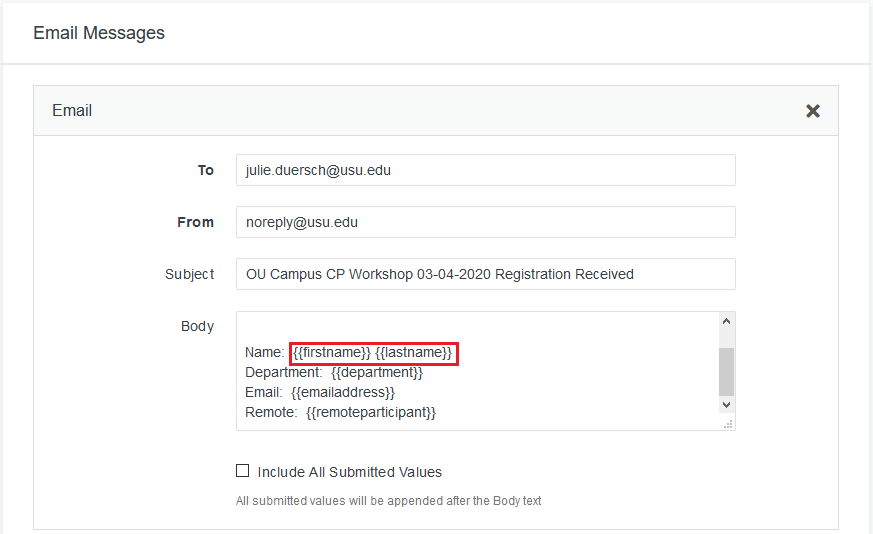
Add an Email Message
- To: The email your department/unit will use for this form.
- From: noreply@usu.edu (has to be this).
- Subject: The subject of your email.
- Body: Optional, you might want to explain what the submission is for. You can check "Include all submitted values" and the email will contain an automatically formatted list of the values of all form elements. Alternatively, you can specify which elements you want to display and where by placing an element's name (not label) inside double curly braces, "{{namehere}}".
Save and Publish the Form Asset
This form can now be placed on a page using the 'Insert Asset' option in the page's WYSIWYG editor.
You can create forms to collect information for users. This is not a good option if you need to collect sensitive information like credit card information or birthdays. You can create an email message which will send an email to a specific email after each form submission or you can access them under the form submissions tab in the asset.
Web Content
Web content assets are very flexible and allow you to add images, videos or different code to your website.
Text
This asset allows you to simply add plain text which can then be placed on multiple pages. It is convenient becuase if you publish it once as an asset it will publish everywhere else it is stored. It will still be style according to the area you insert into.
Custom Code
You can create custom code blocks such as html to insert into your webpages as assets.