Expiring a Web Page
See the Omni CMS Documentation to learn more.
Step 1: Decide Whether to Replace or Recycle the Page
Before you expire a webpage, you first have to decide if you will recycle it (remove it completely from your website and send it to your recycle bin) or replace it with a new page.
Recycling makes sense if you are done with the particular page on a particular date and there is nothing to take its place.
Replacing makes sense if you have something to take the place of the expiring page. This is particularly helpful if you are expiring a page because a deadline has passed, in which case you will want to replace it with a page that includes a message that the deadline has passed.
Step 2: Expire Your Page
Under the green publish button dropdown, you will see Expire as an option. This is where you set up your page expiration.
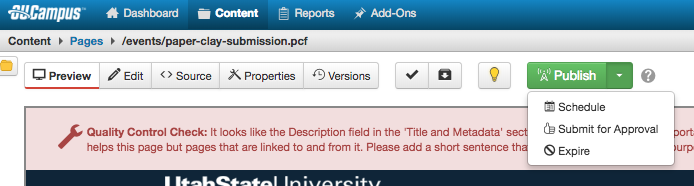
After clicking Expire, you will be given a set-up screen to complete. You must choose from replace or recycle.
Replace a Page
If you choose to replace your page with another page, choose the replace option.
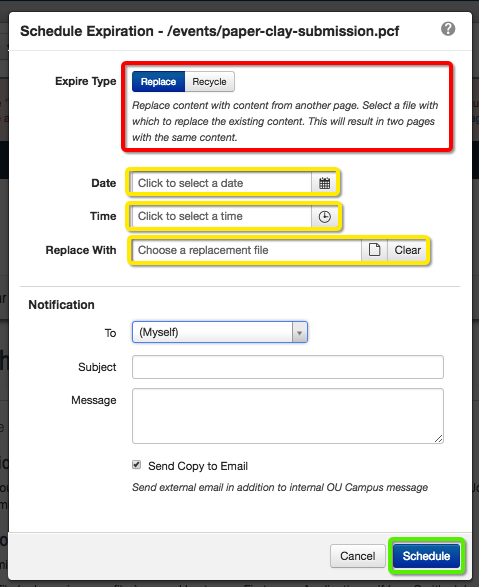
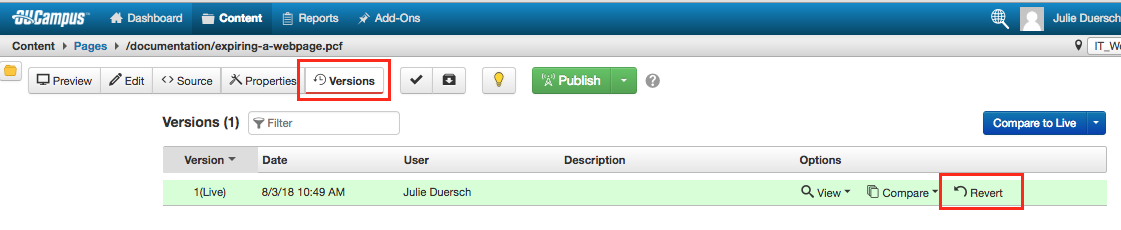
You will need to choose the date/time to expire the page and the file to replace it with. Please note that this will create two pages with the exact same content on your website. If you want to retrieve the original version of the page, simply revert to the version you want from the Versions menu. Be sure to click Schedule when you are done.
Recycle a Page
If you choose to recycle your page, the page will be sent to your website recycle bin. It can be recovered from the recycle bin unless you (or another authorized content manager) clear the contents of your bin.
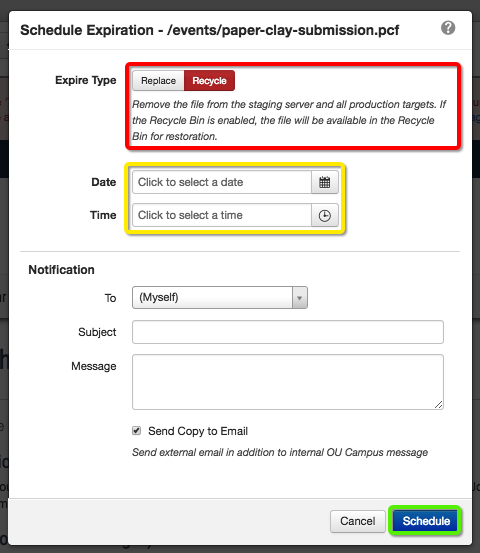
Like the replace option, you will need to choose the date/time to expire the page. Don't forget to click Schedule when you're done.
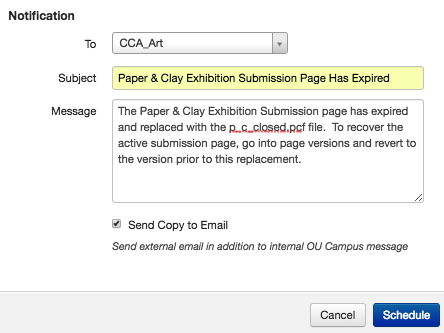
Notifications
Whether you replace or recycle your page, you will have the option of sending a notification when the expiration takes place. You can choose to send that notification to yourself or to the entire access group for the website.
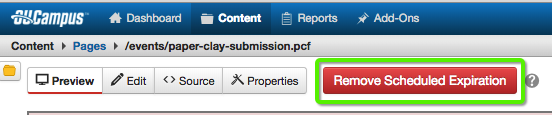
Removing the Expiration
Once the expiration is set, you will not be able to edit the page without removing the expiration. If you choose to reinstate the expiration, simply retrace the steps to create the expiration again.
Please note that once the expiration has happened, the green Publish button will automatically return. No further action is required by the content manager.